
Fence & Gate Installation Guide
Everything you need to know to prepare for your fence or gate installation with Shamrock Fences
Preparing for Your Fence Installation
Congratulations on scheduling your fence installation with Shamrock Fences! You're in great hands. While our team handles all the heavy lifting, there are a few simple things you can do to ensure a smooth installation day. Below you'll find what we recommend you prepare, and what our team will take care of.
What YOU Need to Do
7 simple steps to prepare for installation day
Keep it accessible in case any questions arise about property lines during installation
Schedule public utility marking 3-5 days before installation. Request private marking for pool pumps, gas lines, or sprinkler systems
Remove potted plants, patio furniture, decorations, and debris within 3 feet of where the fence will be installed
Plan to keep them safely inside or away from the work area during the entire installation process
Point out any landscaping near the fence line that you'd like our crew to be careful around
Run your sprinklers before installation so we can identify and avoid any lines. Test again after we're done
Be available at the start and completion of installation to review the project and approve the final result
What SHAMROCK Will Do
Our 7-step professional installation process
We handle all permit applications and ensure HOA compliance before any work begins
Our team assesses your terrain, soil conditions, slopes, and any potential obstacles
We double-check and load all posts, panels, hardware, and tools before arriving at your property
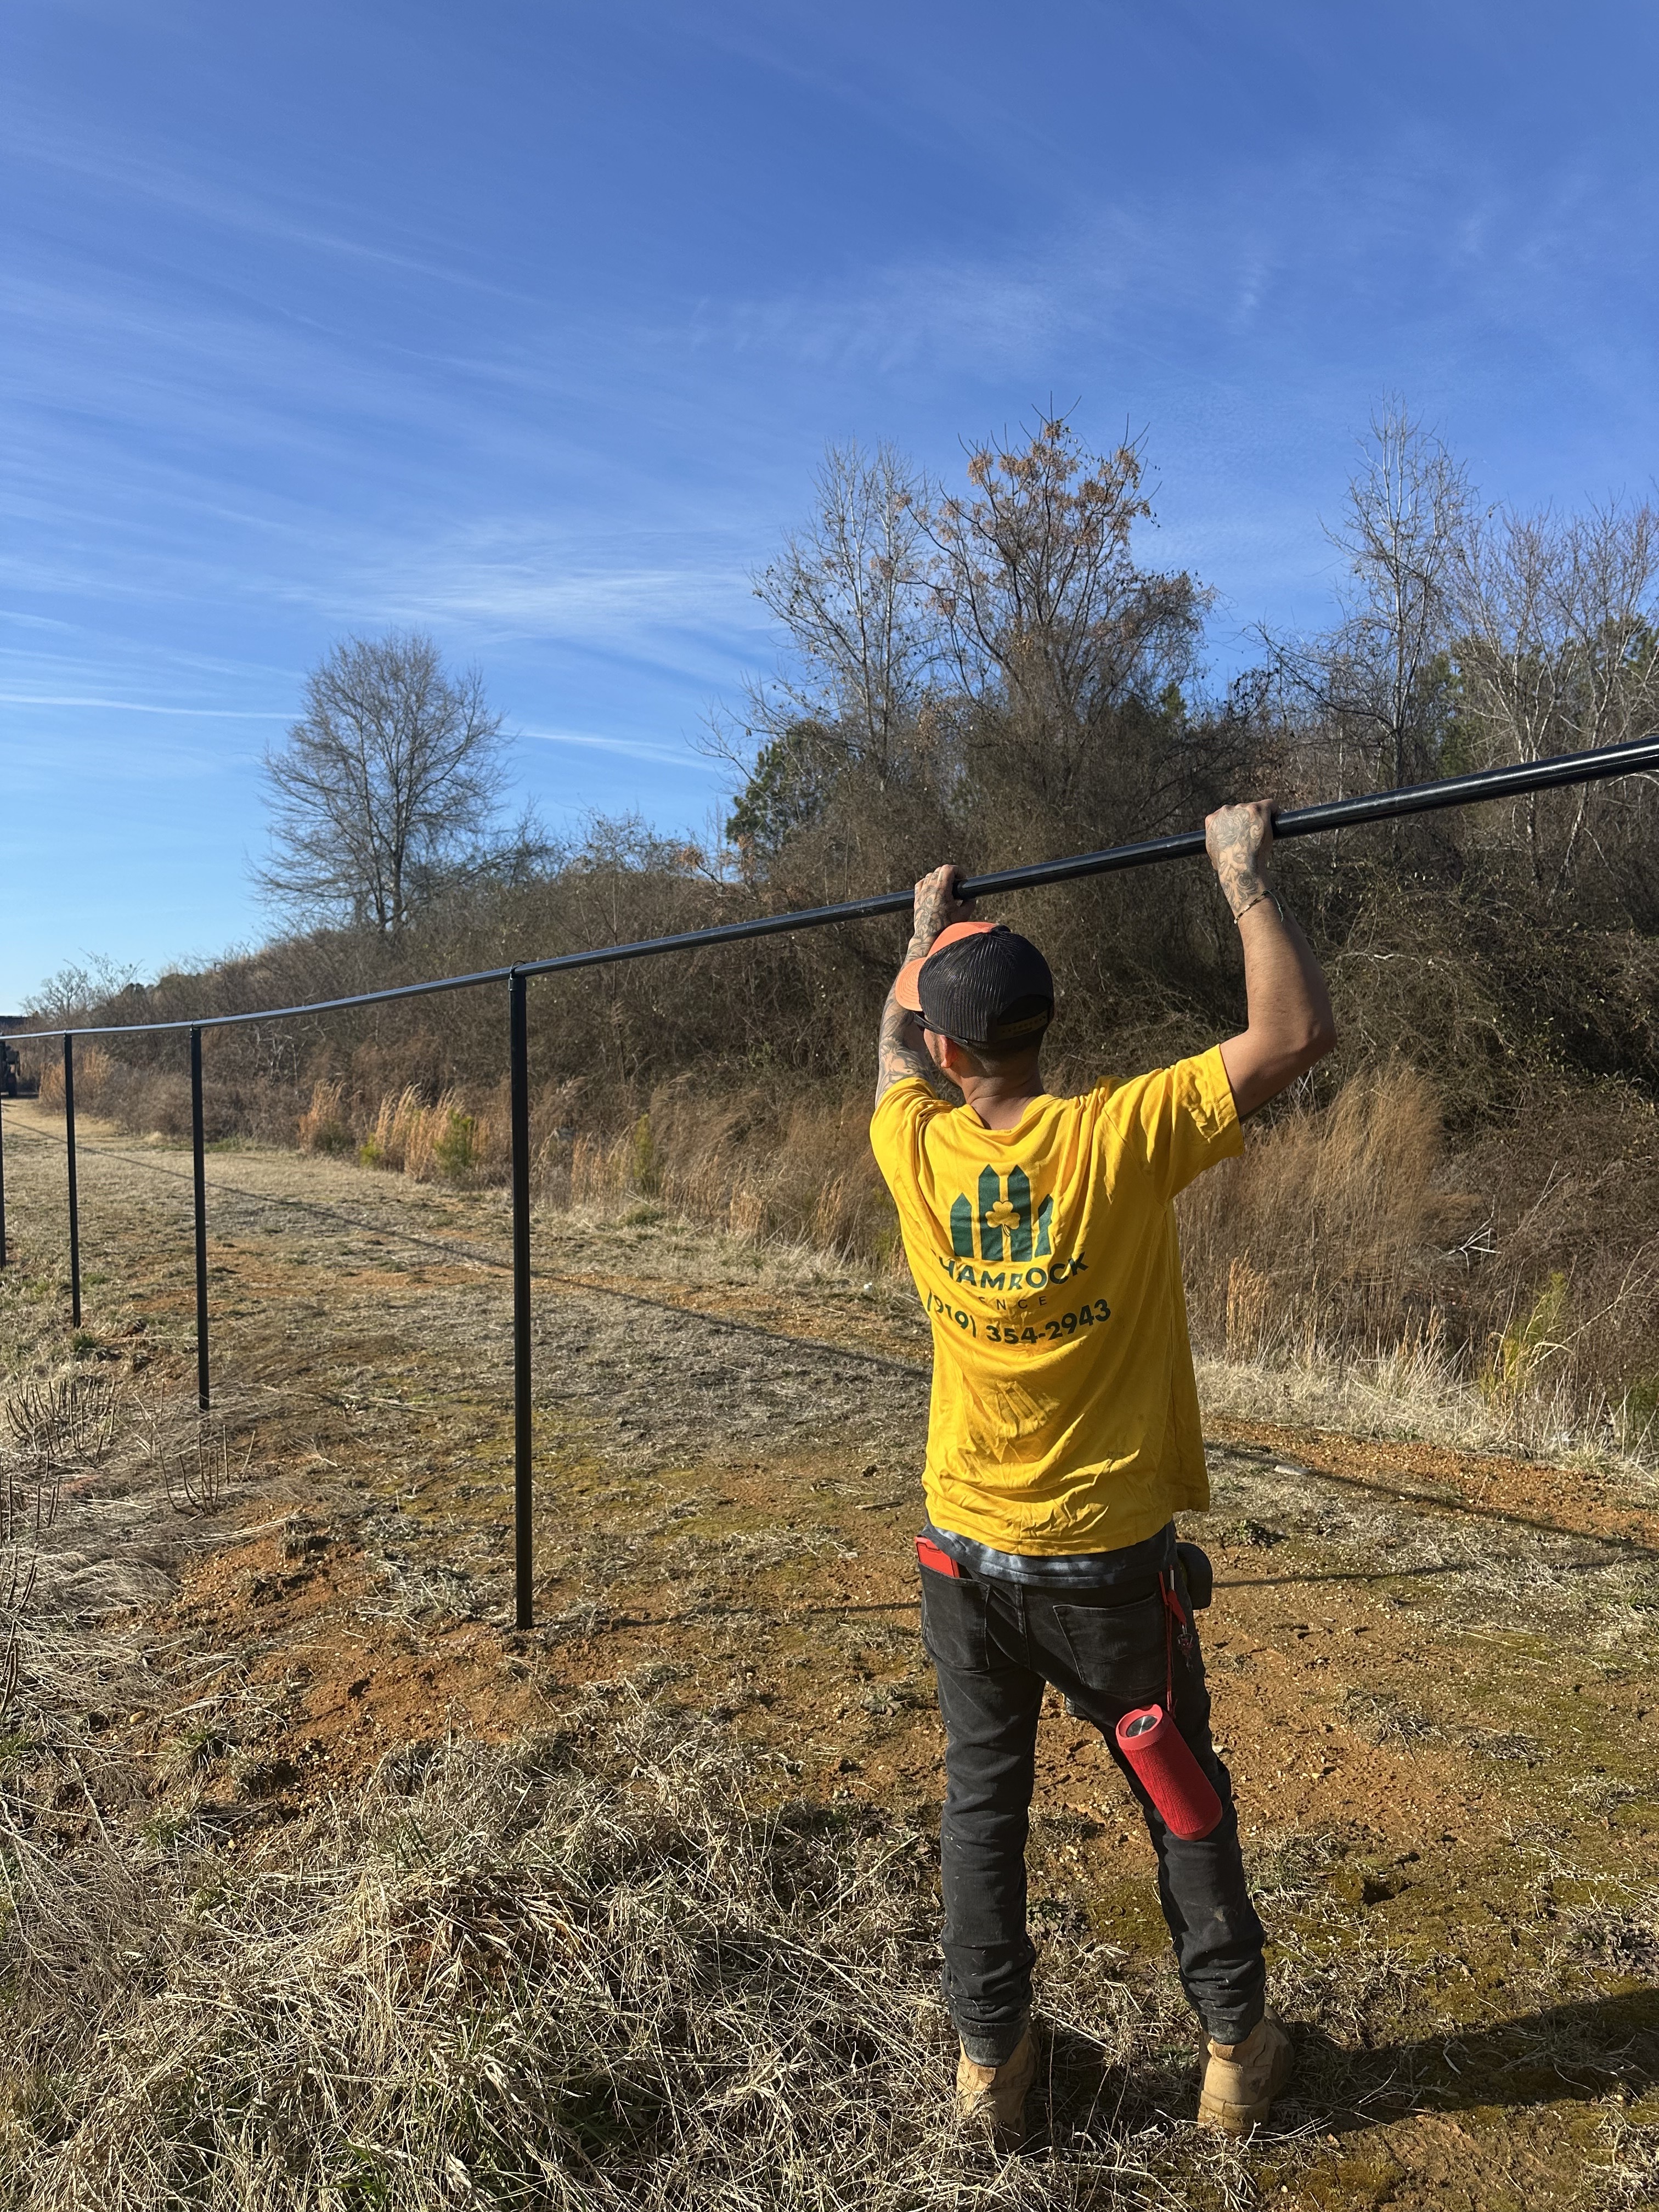
Using professional techniques to ensure perfectly square corners and accurate post placement
Posts are set at proper depth with gravel drainage and concrete to last for years
Everything installed with precision using quality fasteners and professional techniques
We review the completed fence with you, make any adjustments, and leave your property spotless
How We Install Your Fence
A look at our professional fence installation process from start to finish
Planning & Permits
We obtain necessary permits, verify property lines, and finalize the fence design with you.
Site Preparation
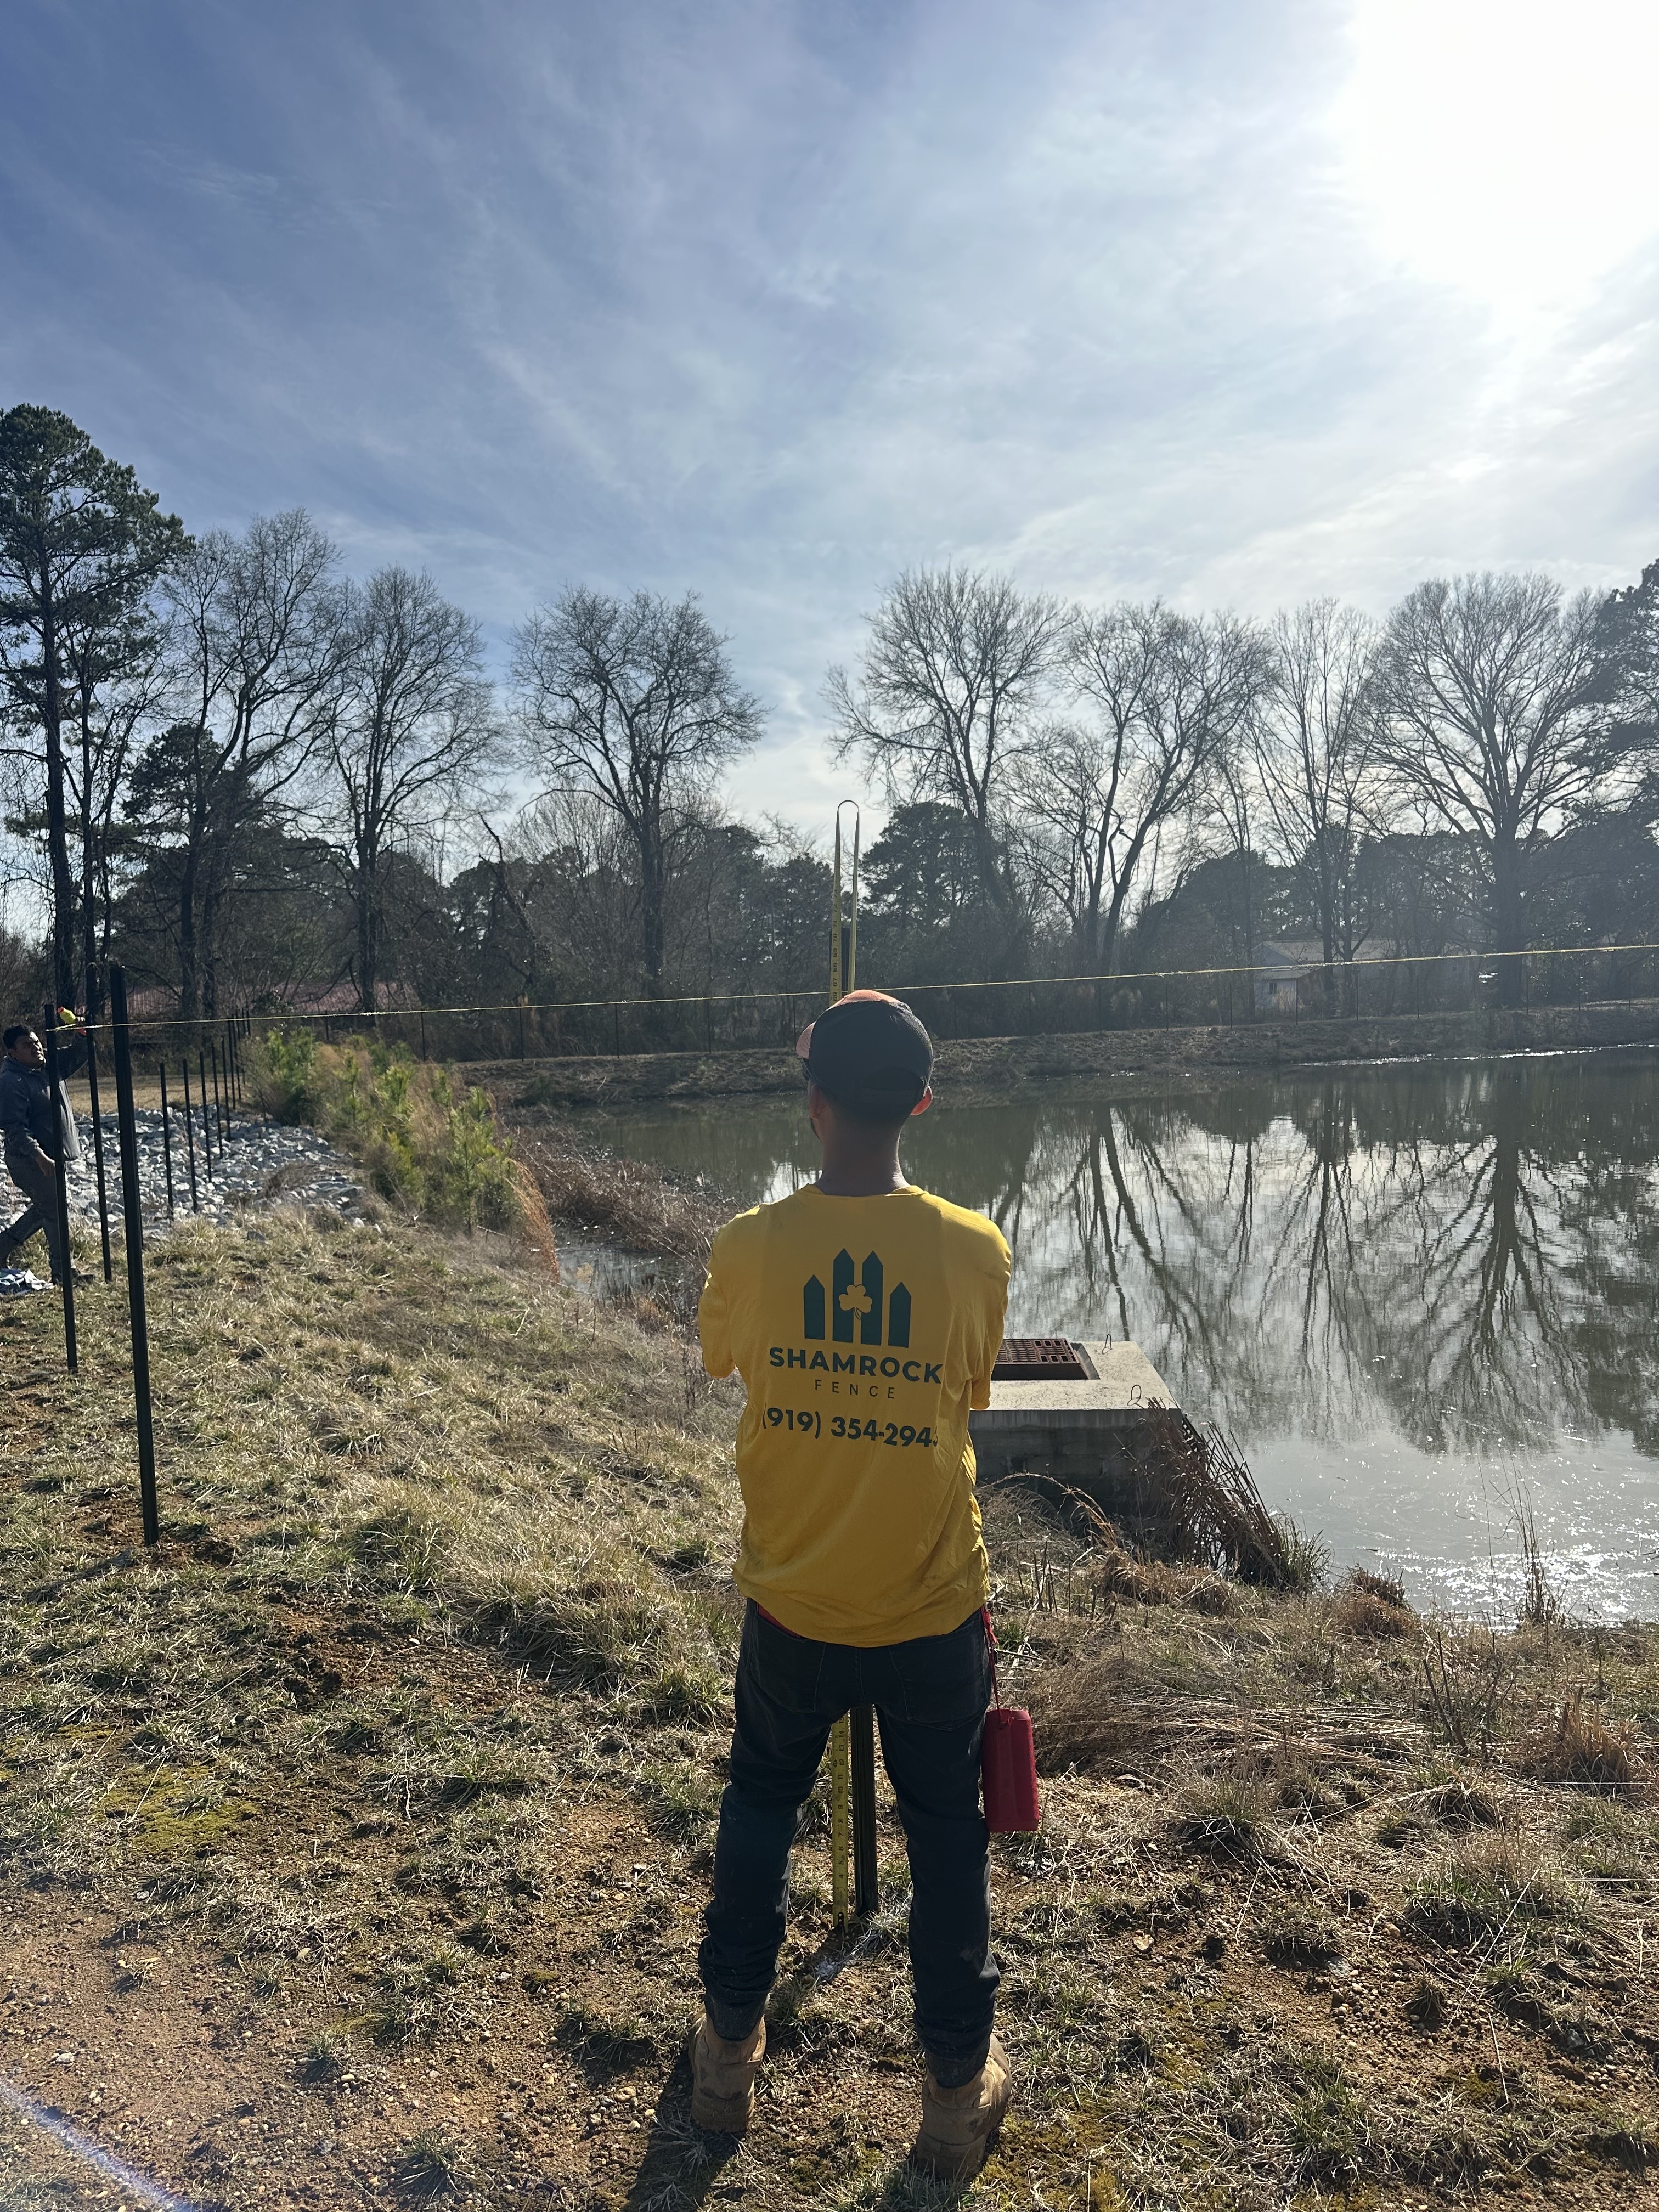
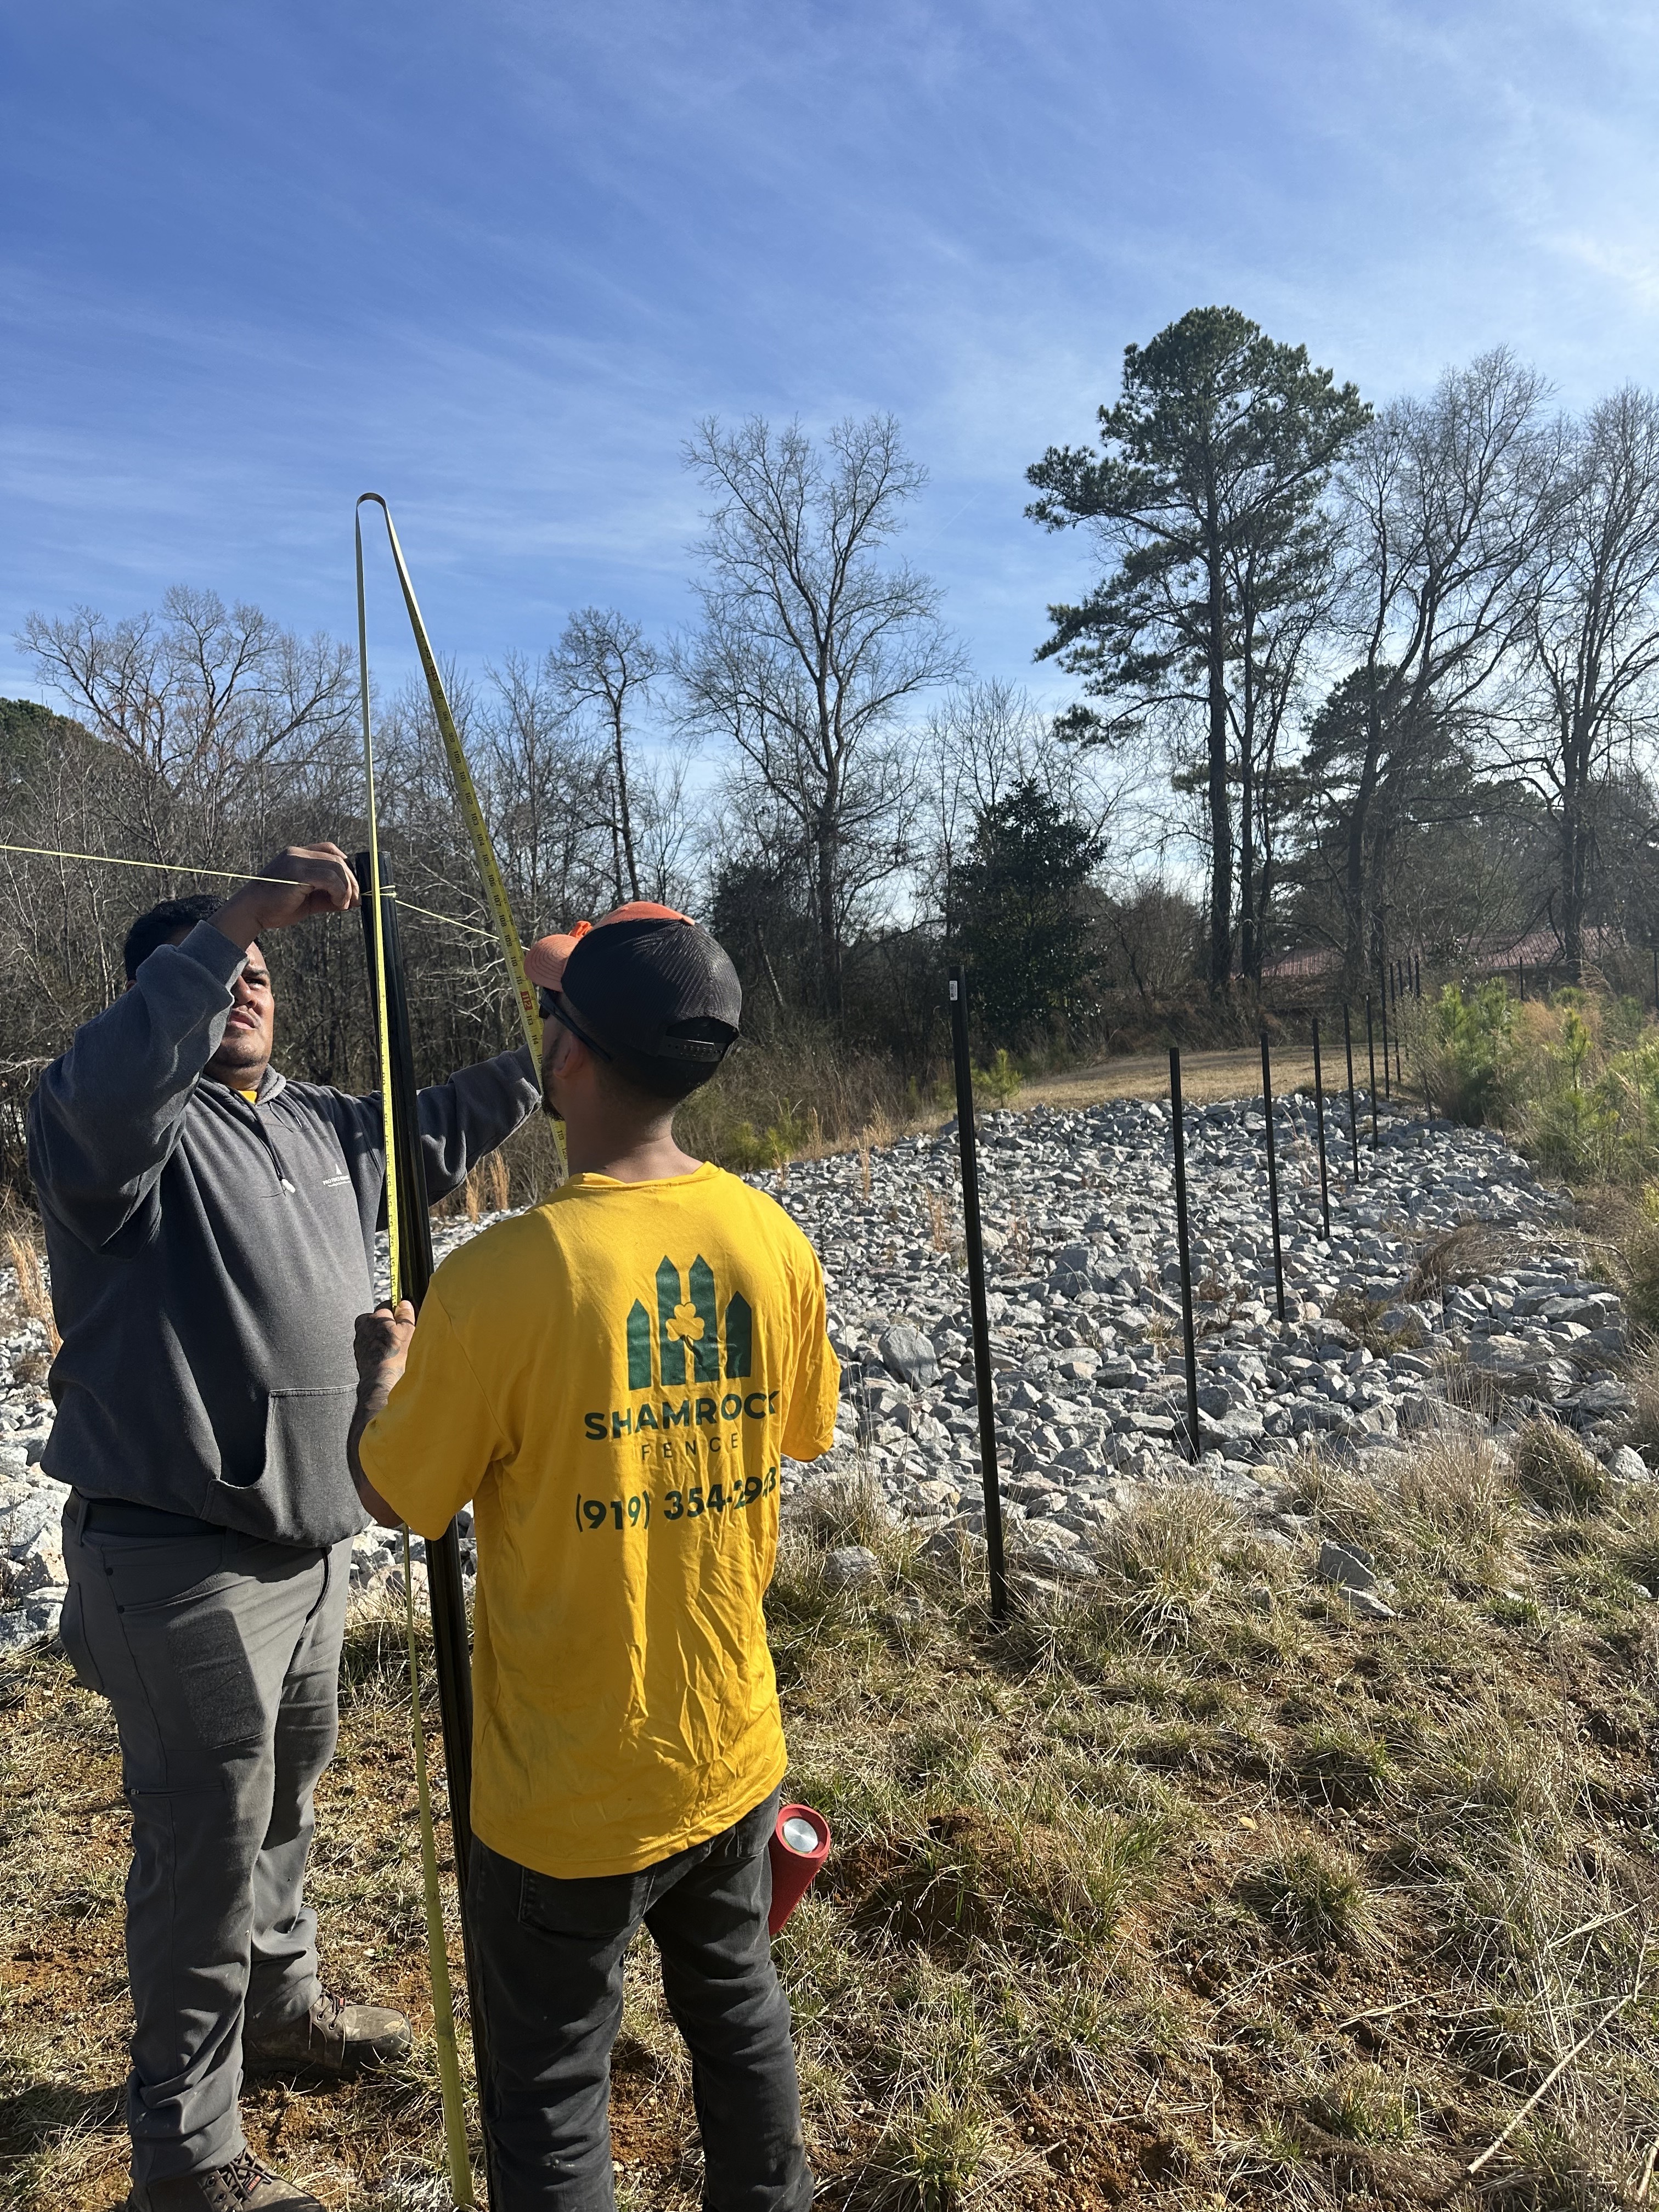
Our crew marks the exact fence layout and ensures the area is clear and ready for installation.
Post Installation
We dig post holes to the proper depth and set posts securely with concrete for lasting stability.
Rails & Panels
Horizontal rails are attached, followed by fence panels or pickets with consistent spacing.
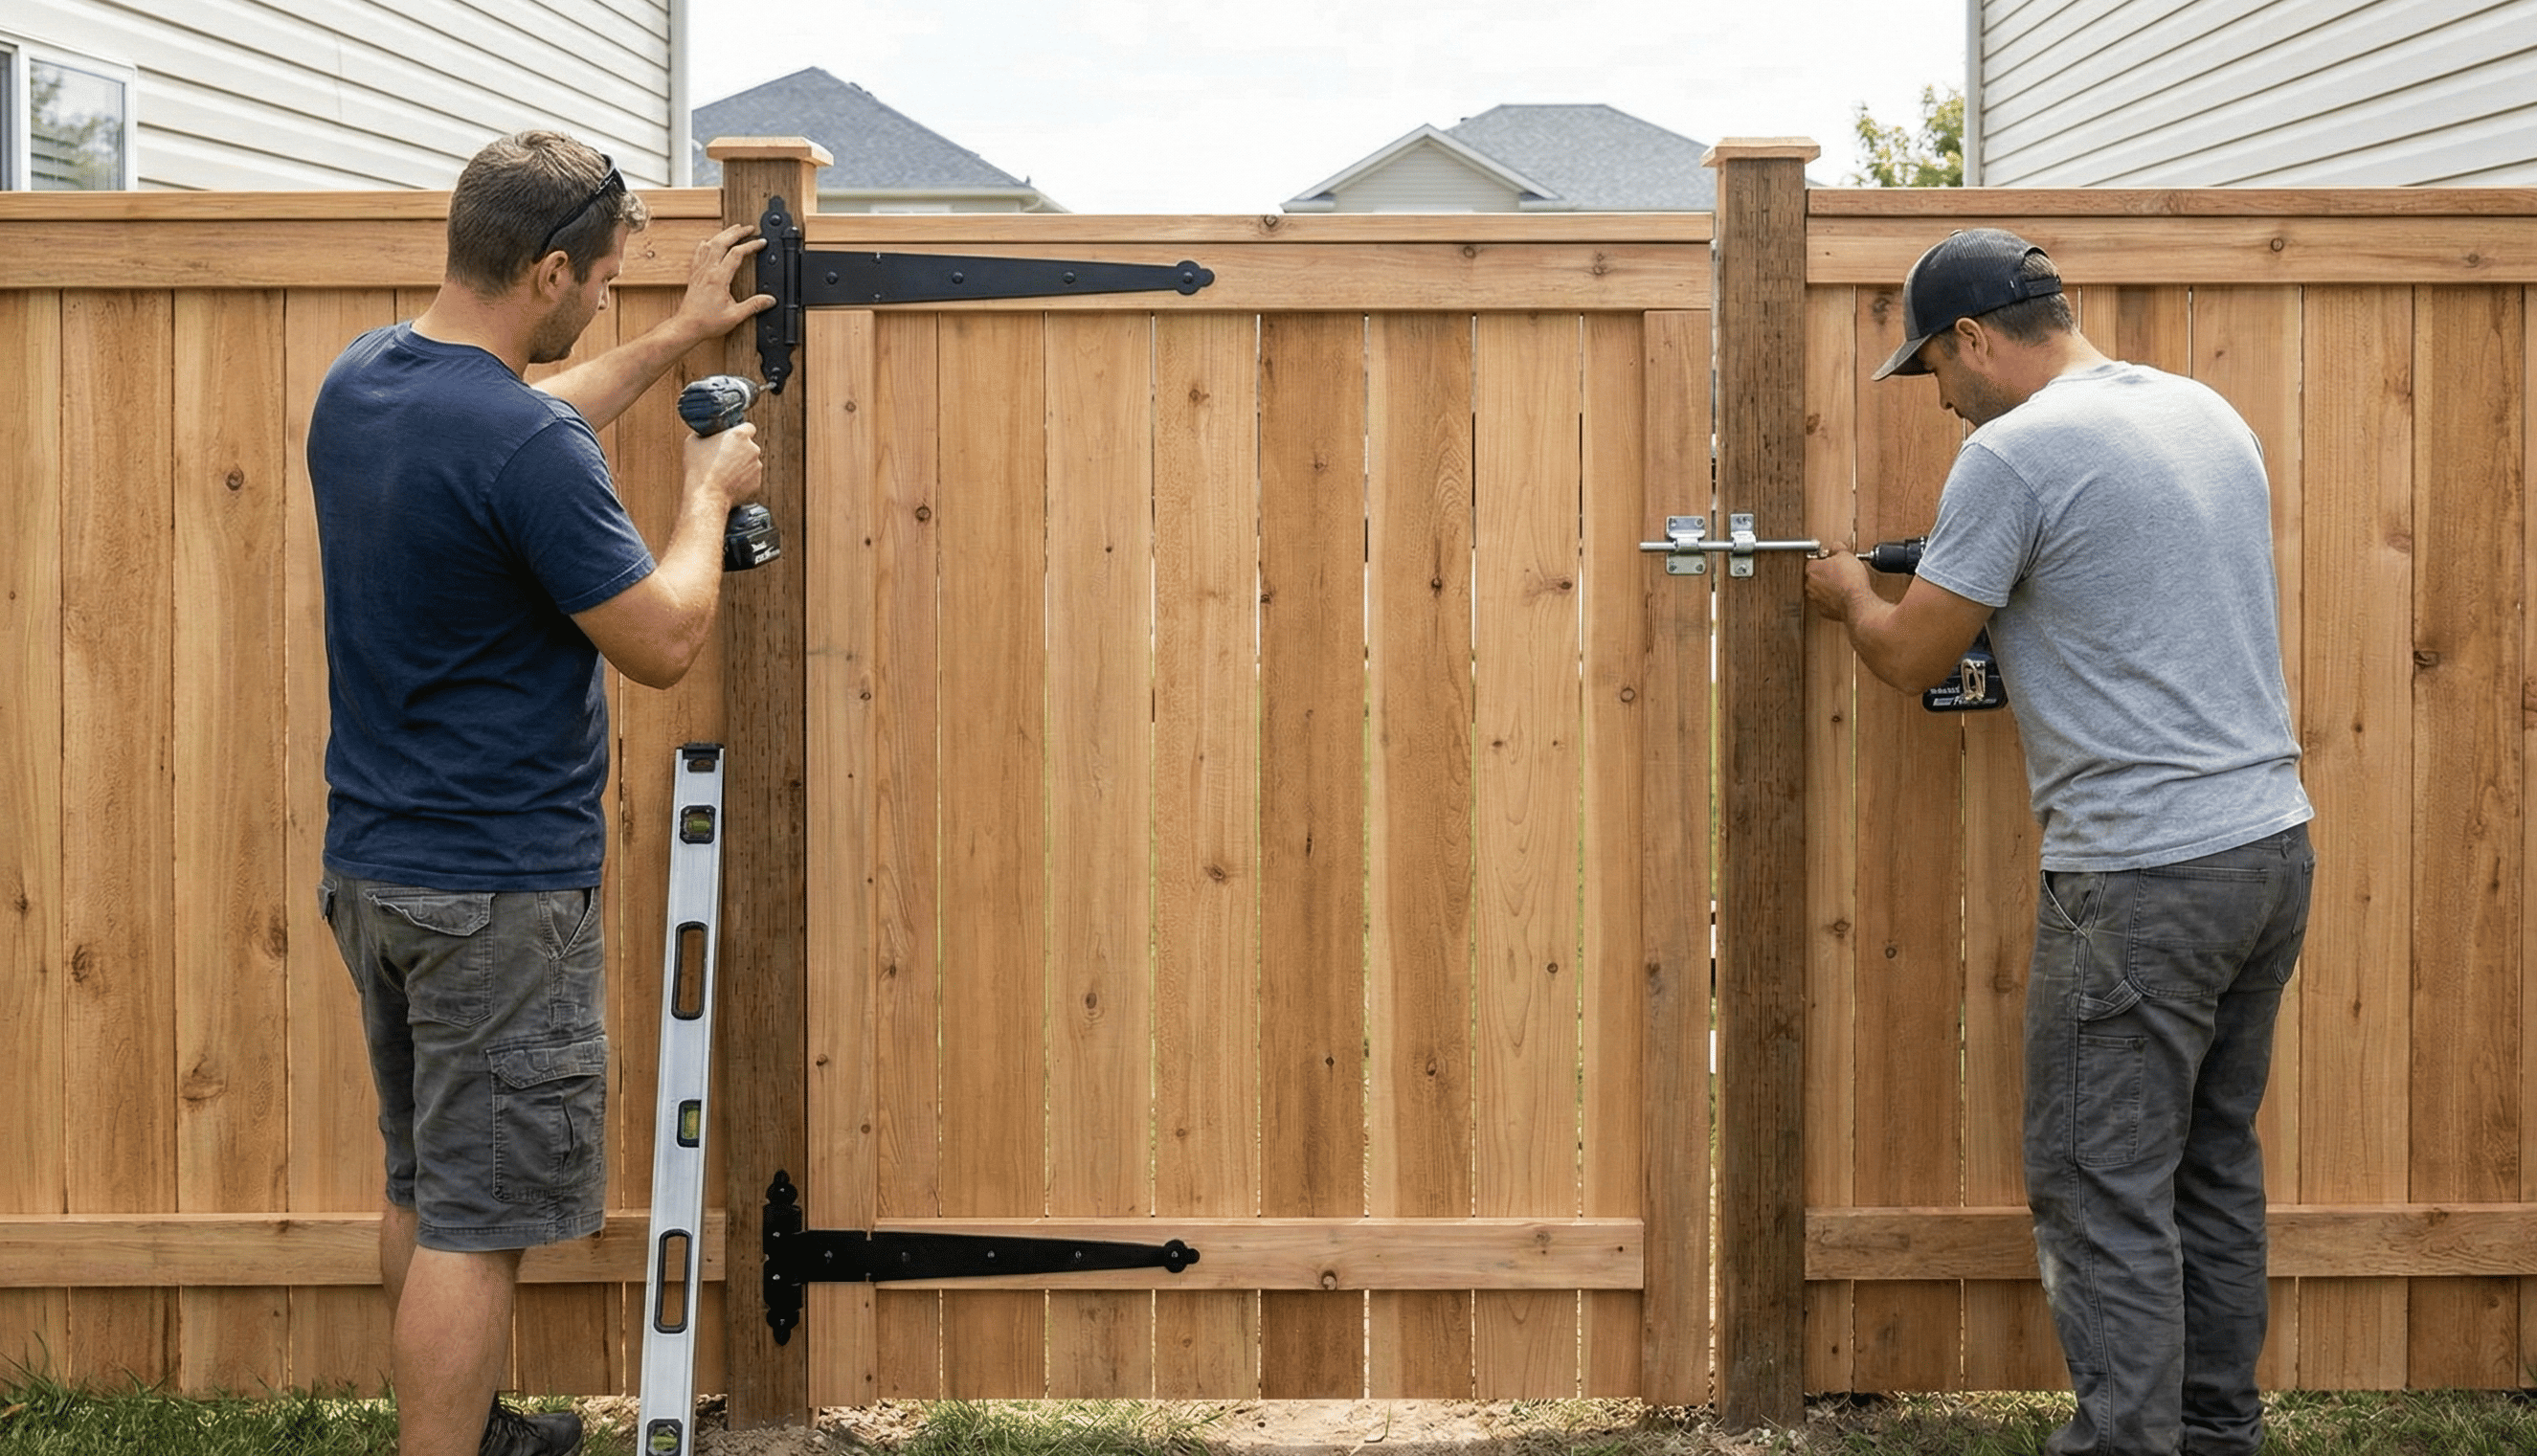
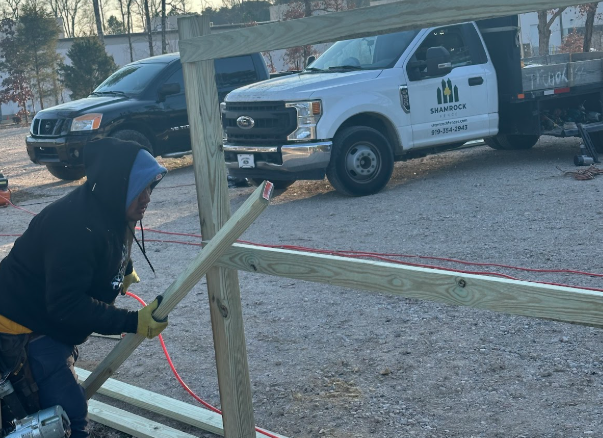
Gates & Hardware
Gates are installed with proper alignment, hinges, latches, and any requested access hardware.
Final Walkthrough
We walk you through the completed fence, answer questions, and ensure your complete satisfaction.
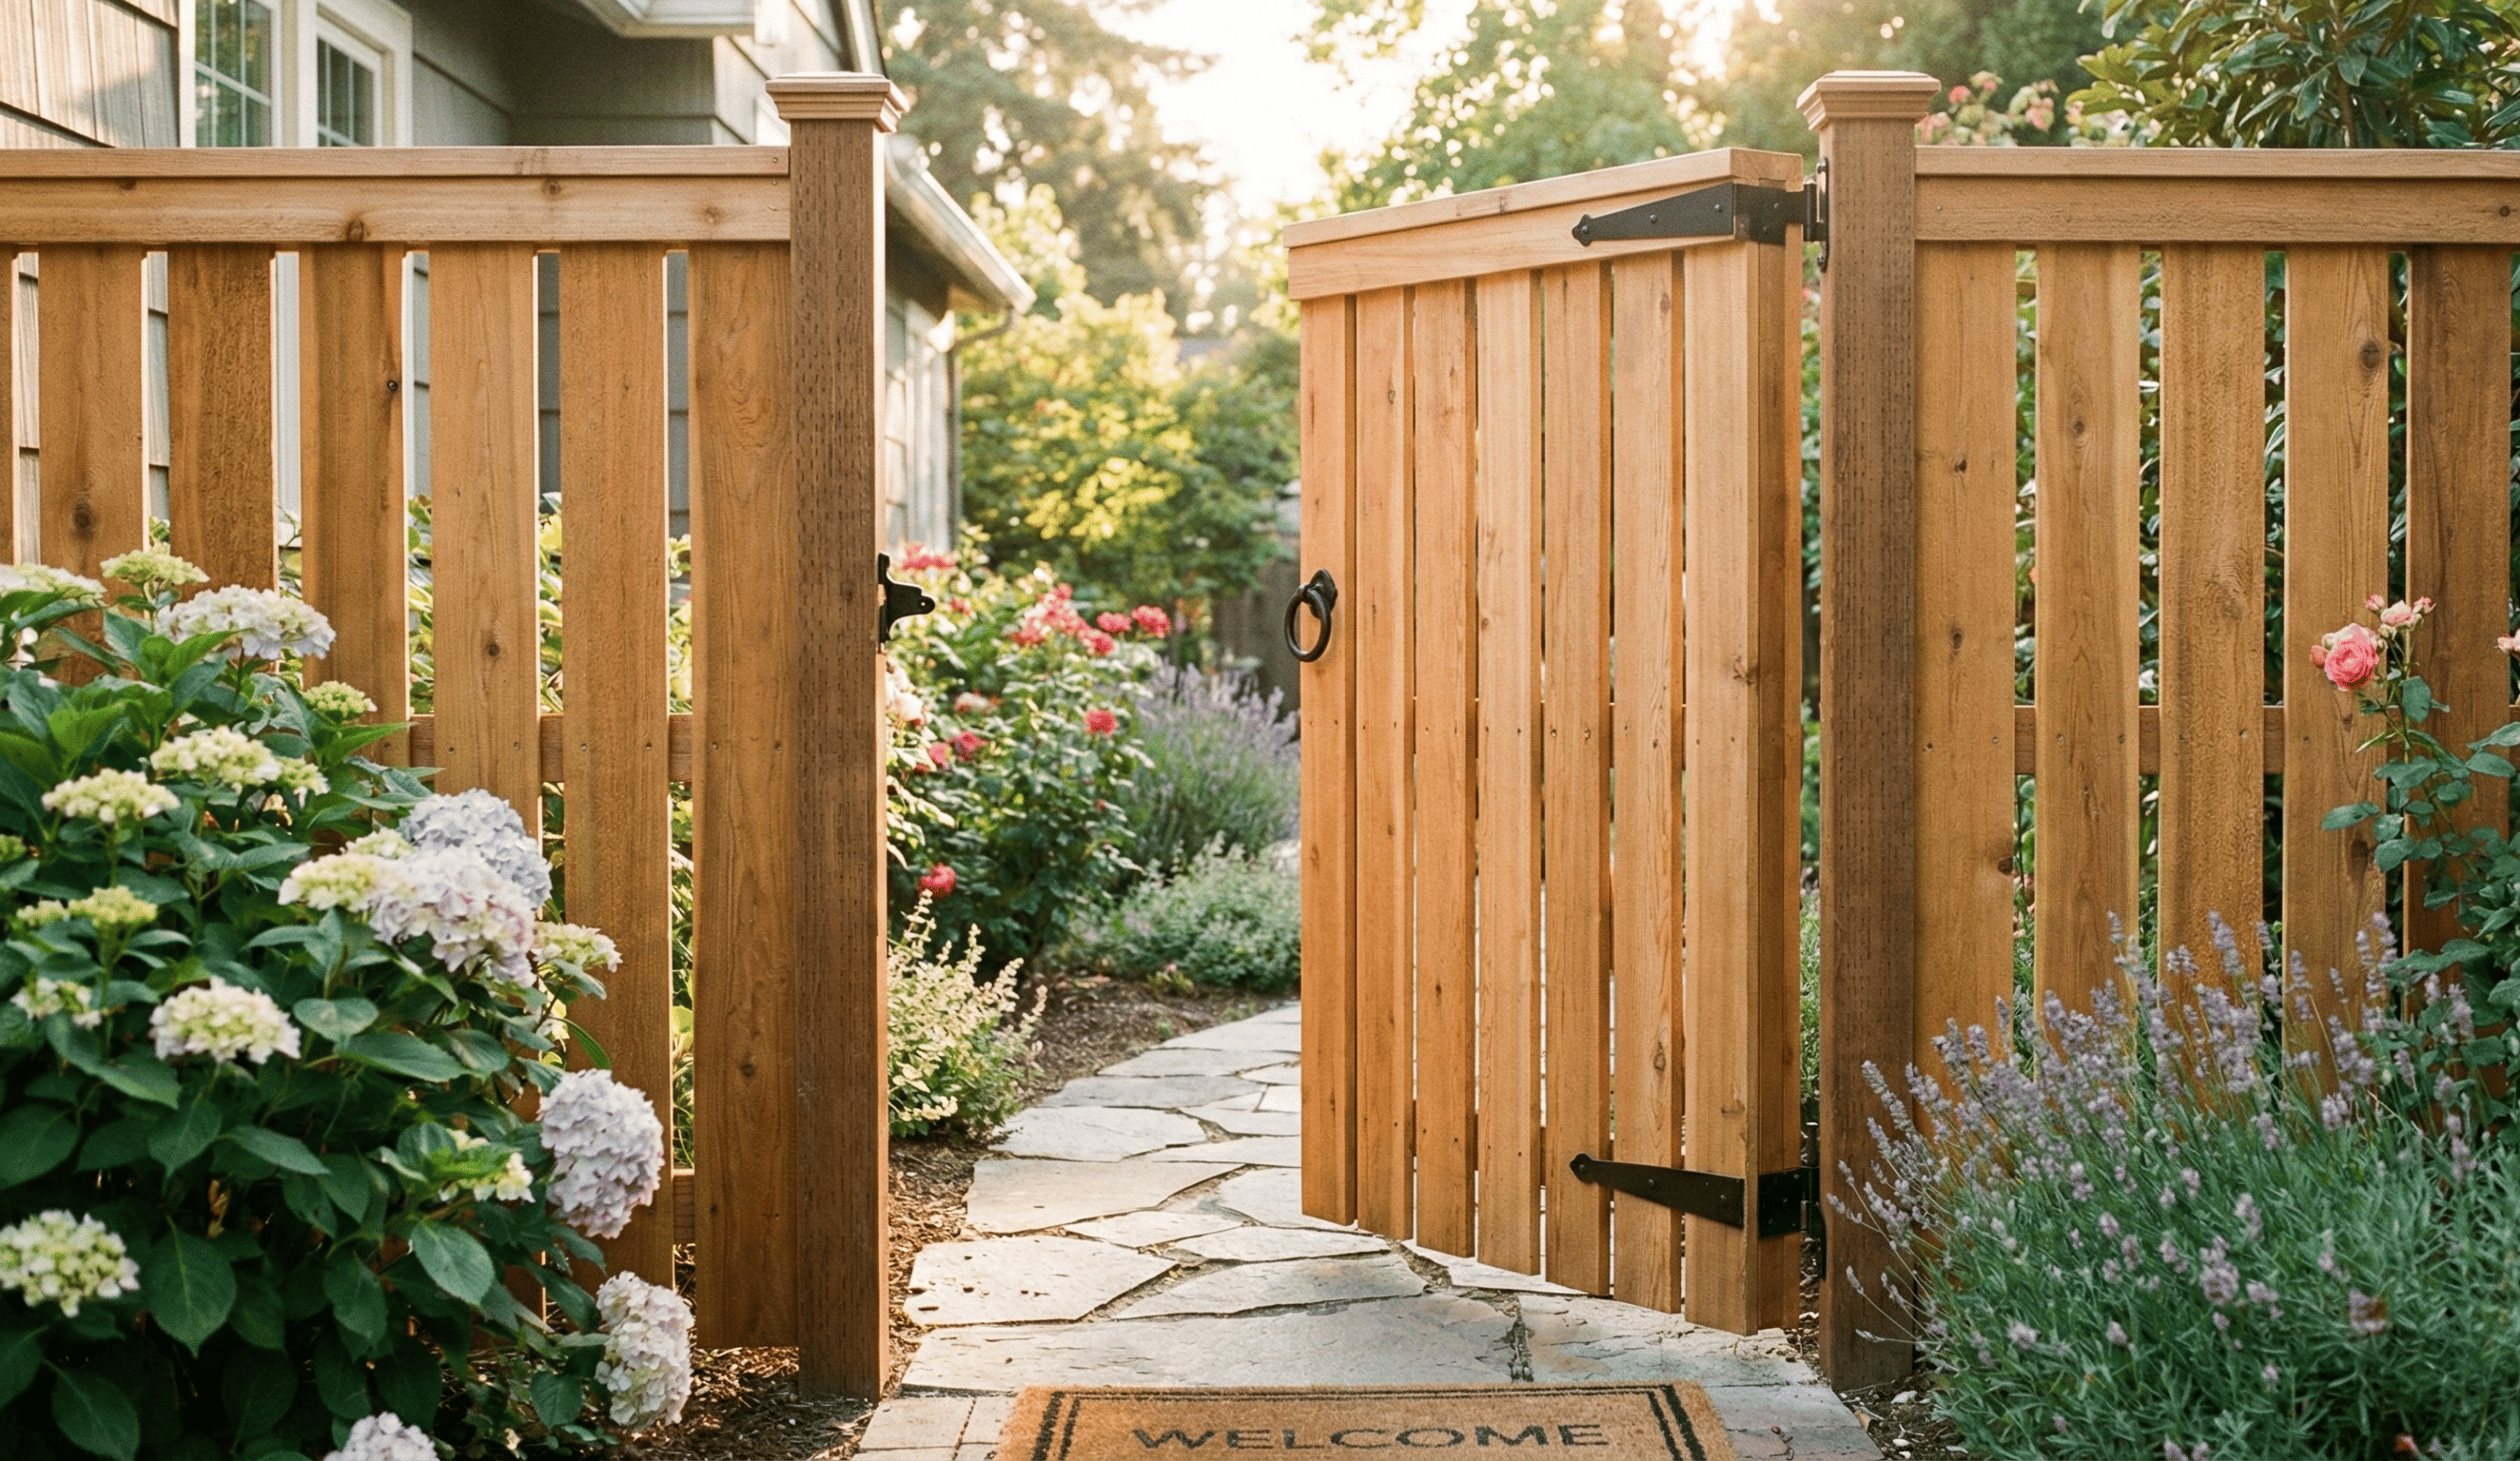
Gate Installation Services
Whether you need a simple walk gate or an automated driveway entrance, Shamrock Fences has you covered. We install gates that match your fence style perfectly and operate smoothly for years to come.
Gates We Install:
- Driveway Gates (Manual & Automatic)
- Pedestrian & Walk Gates
- Pool Safety Gates
- Garden & Side Gates
- Custom Decorative Gates
For automatic gates, we'll discuss electrical requirements and access control options during your consultation.
Tips by Fence Material
Quick tips to help you understand what to expect with each fence type

Aluminum
- Low maintenance, no painting needed
- Great for pool areas and slopes
- Won't rust or corrode
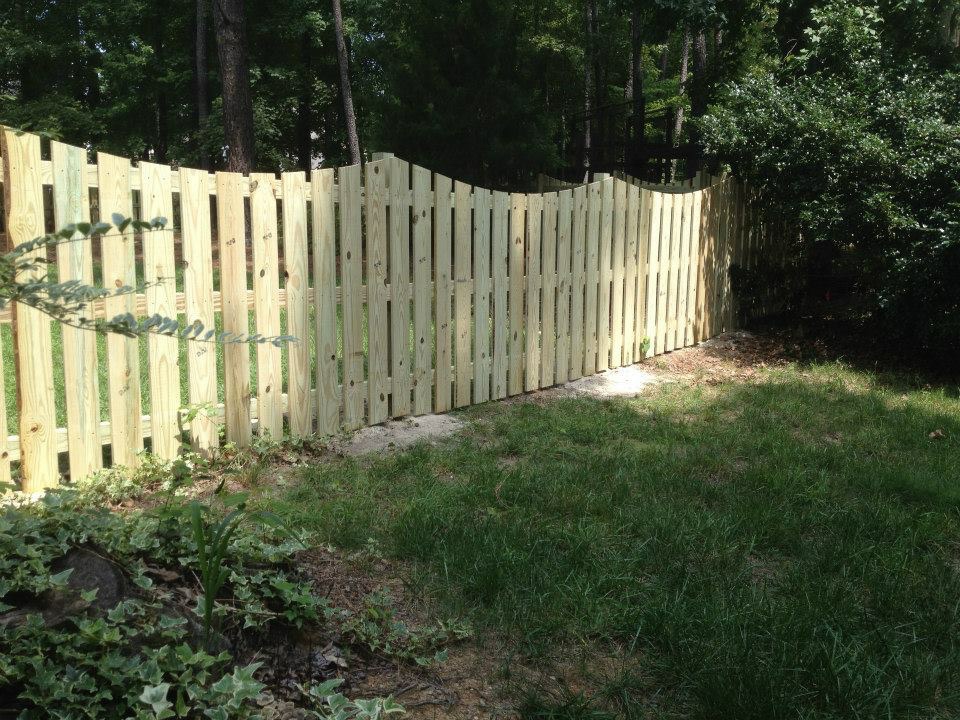
Wood
- Classic look with natural beauty
- Can be stained or painted any color
- Pressure-treated for durability
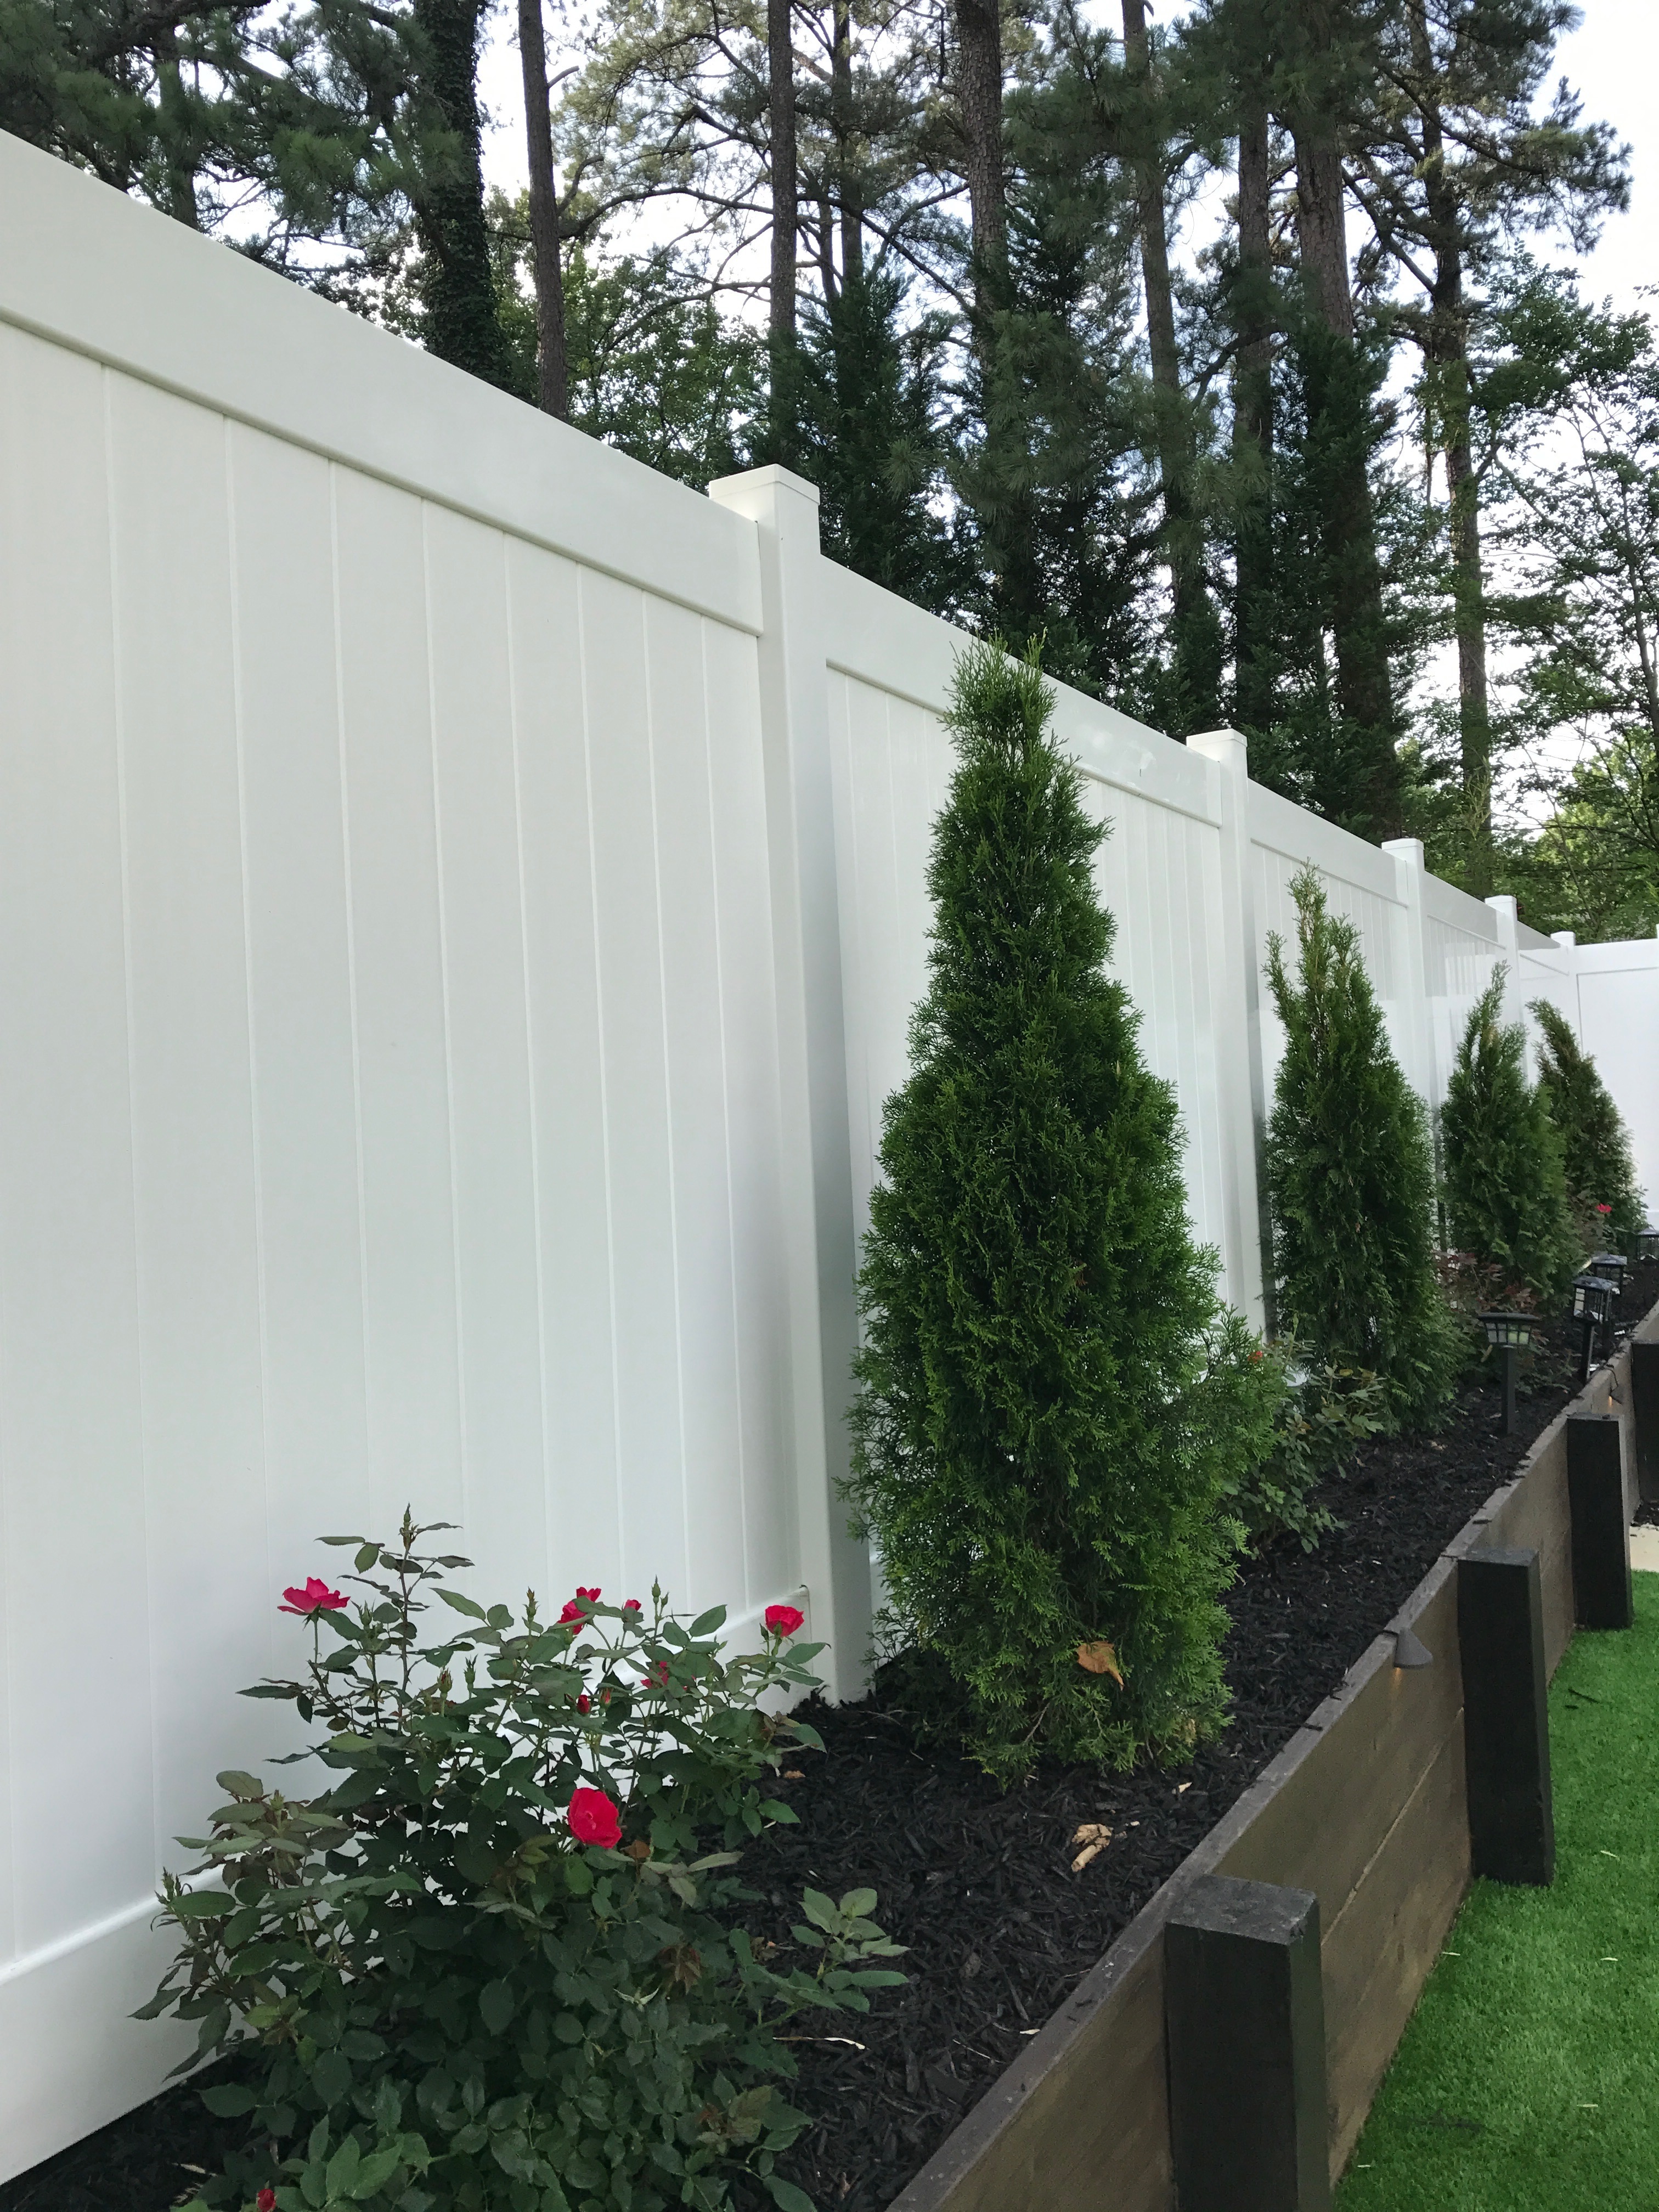
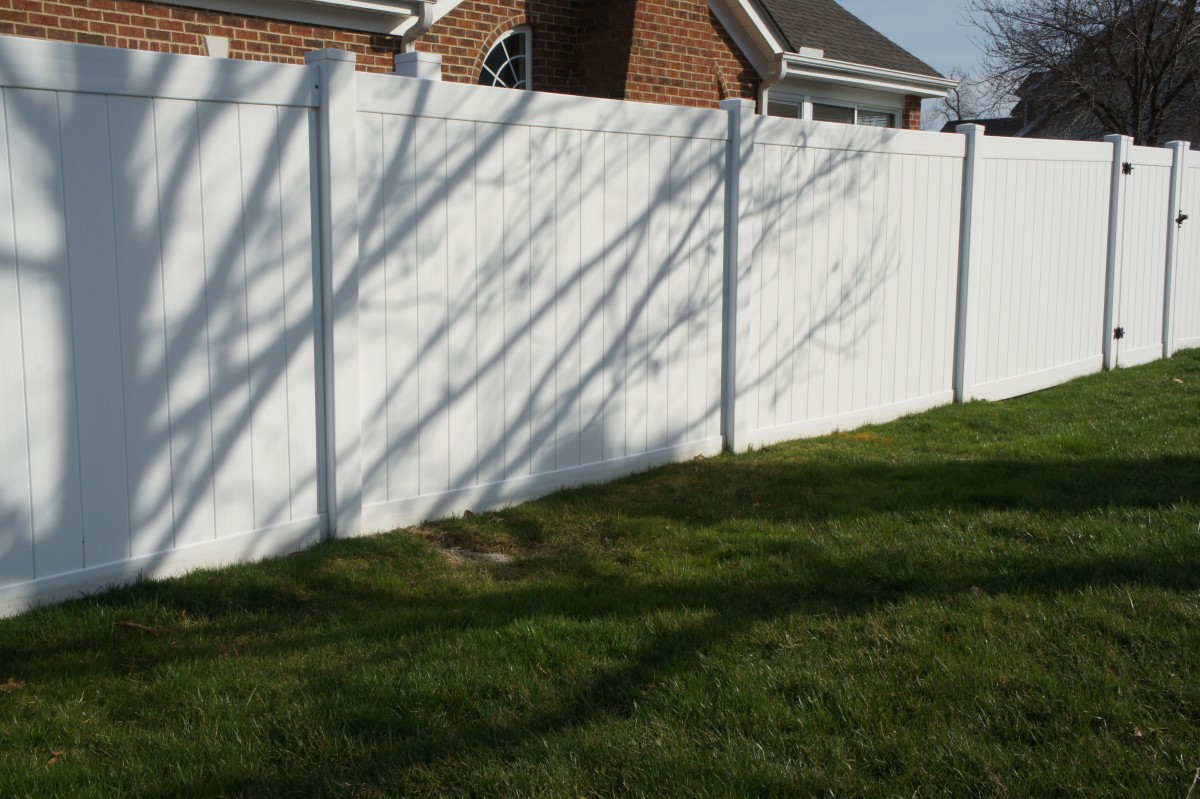
Vinyl
- Zero maintenance required
- Never needs painting or staining
- Resists fading and weathering

Chain Link
- Affordable and durable option
- Quick installation process
- Great for large areas and pets
Frequently Asked Questions
Answers to the most common questions about fence installation
Most residential fence installations are completed in 1-3 days, depending on the size and complexity of the project. We'll give you a specific timeline during your consultation.
Permit requirements vary by location and HOA. Don't worry—Shamrock Fences handles all permit applications and ensures your fence meets local codes and regulations.
Sloped yards are no problem! We're experienced in installing fences on all types of terrain. We can either 'rack' the fence to follow the slope or 'step' it down in sections.
We recommend waiting 4-6 weeks before staining or sealing a new wood fence. This allows the wood to fully dry and ensures the stain will absorb properly.
That's why we always recommend calling 811 before installation. We take every precaution to avoid utilities, and if we encounter unmarked lines, we'll stop and resolve the issue safely.
Yes! Fence removal and disposal is available as an add-on service. Let us know during your consultation if you need your old fence removed before installation.
Ready to Get Started?
Get your free fence installation estimate today. Our team is ready to help bring your vision to life.